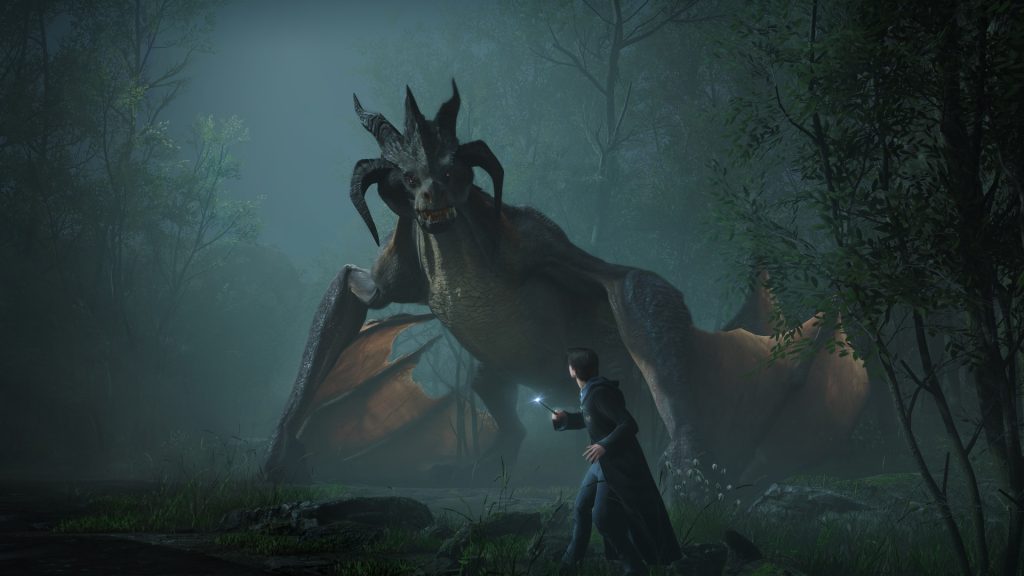
Collection Chests contain a random assortment of items and gears that come in handy during your adventure through Hogwarts Legacy. There are a total of 155 chests, and the rewards are randomized every time, so what you get will be different (or could be the same, which is highly coincidental) from everybody else’s. This guide lists the locations of some of the chests in the game, categorized by region. So if you’re tired of searching for them, give this a read.
Collection Chests in Hogwarts Grounds
Alchemy Class
Start at the Bell Tower Courtyard Floo Flame. Turn left and head up the stairs, then enter the door that lies ahead. Descend the steps you see ahead and enter through another door. Keep on going down until you come across a dragon statue. Take a right from the statue and head down the corridor. There’ll be a locked door straight ahead. Unlock it using Level 2 Alohomora, and you’ll enter a room with a bunch of cauldrons. The Collection Chest will be towards the right.
Viaduct Entrance
Starting from the Divination Classroom Floo Flame, turn around and ascend the wooden steps. After reaching the rafters, follow the walkway until you hit a right turn. The Collection Chest is behind the puzzle door. It’s a simple Arithmancy Puzzle where the middle number is the summation of all the numbers and symbols surrounding it. Each animal symbol represents a different number.
The second Collection Chest is locked behind a door in the second Arithmancy Class. Head through the corridor, and eventually you’ll reach the classroom. Unlock the door by solving the puzzle and you’ll find the Collection Chest.
The same applies for the third chest. Head into the third classroom, which is further down the corridor. Solve the puzzle for the and unlock the door for the treasure chest.
Bell Tower
Start at the Bell Tower Floo Flame and ascend the stairs. Continue ascending until you come across a music room. Now go to the back left corner and keep on climbing using the stairs until you reach the balcony. Finally, go around to the right, where the Collection Chest will be waiting for you.
For the second chest, follow the steps mentioned above until you reach the balcony. Now look to your right, and you’ll see a frog statue. When you interact with it, it will transport you to the opposite tower. The Collection Chest will be on the right, a few steps ahead.
Once again, follow the above instructions for the third chest. Only this time, after you reach the opposite building, instead of going right, walk a few steps ahead and take a left around the corner.
Central Hall
Starting from the Central Hall Floo Flame, head down the stairs and take a left from the fountain. As you descend the steps to the right, you’ll see a puzzle door. Solve the equations to unlock the door and get the Collection Chest.
Charms Classroom
Starting at the Charms Classroom Floo Flame, head down the steps and enter the Charms classroom to the right. As you enter the room, look to the left, and you’ll see a set of stairs leading up to a locked door. Use Alohomora to unlock the door and go up the spiral staircase. Once you reach the top, enter the door, and you’ll find a Collection Chest lying there.
Clock Tower
You need to learn the Arresto Momentum spell in order to get this chest. Once you’ve learned it, go to the Hospital Wing Floo Flame. Take a right towards the clock tower and descend the steps. After reaching the bottom, go across the mechanism. Head down to the next floor, and you’ll notice a door with a metal grate. It’ll slide away partially before slamming back.
In order to open the door, turn left and try to match the symbol on it with the swinging pendulum (to the side). Once the pendulum reaches the top of the second symbol, cast Arresto Momentum. Once the door opens, quickly head inside and get everything from the Collection Chest before exiting.
There is a second chest towards the right, so make sure to sweep the room before exiting.
Defense Against the Dark Arts Tower
This is a puzzle door, so make sure to memorize the symbols before proceeding. Starting from the Charms Classroom Floo Flame, you’ll find the door to it by going around the corner. Solve the equation to enter the room and get the Collection Chest.
For the second chest, start at the Transfiguration Courtyard Floo Flame, face right, and enter the tower. You’ll notice a massive staircase with a locked door, wedged right between two gargoyles. Open the door using Alohomora (level 2 needed) and you’ll see the Collection Chest towards the back of the room.
Faculty Tower
Starting from the Clock Tower Courtyard Floo Flame, turn around, and enter through the door. Once you’re on the other side, face right and keep walking through the corridor. As you go up the stairs, you’ll notice a frog statue next to the spiral staircase. Interacting with the statue will take you to another room. Use Lumos to light up your surroundings, and you’ll see the Collection Chest to the right.
To find the second chest within the Faculty Tower area, head over to the Faculty Tower Floo Flame. Descend the corridor and enter the door to your right. Now head up the stairs and you’ll see a puzzle door. Solve the equation to open the door. After entering you can spot the Collection Chest at the back of the room. Note that this location is only accessible after you’ve completed the Main Quest – The Caretaker’s Lunar Lament.
There is also a third chest in the area, and to find it, return to the Faculty Tower Floo Flame. Now go forward and through the private faculty area. Take the stairs and climb two floors. Enter the door located next to the jeweled tortoise shell and cast Glacius on the fire that is burning in the fireplace. You’ll find a small hidden room after you ascend and crawl through the stairs. Cross the room to find the Collection Chest.
Grand Staircase
Starting from the Grand Staircase Floo Flame, head up the stairs. Take a right and keep on climbing the stairs until you come across a puzzle door on the left. Solve the equation to open the door and get your Collection Chest.
To find the second chest, return to the Grand Staircase Floo Flame. Instead of going up like last time, head down one flight of stairs. Solve the puzzle door on the left and grab the Collection Chest inside.
Great Hall
Starting at the Great Hall Floo Flame, turn left and then left again. Solve the puzzle door to get access to the Collection Chest.
For the second chest, return to the Floo Flame and head straight for the western wall of the hall. Use Alohomora to unlock the locked door and gather the Collection Chest located towards the left of the room.
Kitchens
Starting from the Grand Staircase Floo Flame, go down the spiral staircase towards the right. Once you reach the bottom, look for a large fruit painting to the left. Interact with the picture and go through the secret door. You can find the Collection Chest at the back of the Kitchen, right next to a cabinet.
Library – Restricted Area
You can find the Collection Chest when doing the Main Quest – Secrets of the Restricted Section. As you move through the restricted area, you’ll arrive at a dark room where you can find the chest sitting on a table.
Long Gallery
From the Bell Tower COurtyard FlooFlames, turn around and enter the large wooden door. You’ll have to unlock it first before entering. Head down the stairs to find a puzzle door. Solve the puzzle to gain access to the Collection Chest kept at the back of the room.
North Hall
Once again, beginning at the Bell Tower Courtyard Floo Flames, go up the stairs and pass through the doors. Keep going up all the way, until you come across a locked door. Cast Alohomora to unlock the door. Following your entrance, you’ll come across a puzzle door. Solve it to gain access to the Collection Chest sitting to the right of the room.
Ravenclaw Tower
From the Ravenclaw Tower Floo Flame, move towards the right until you come across a puzzle door. Solve the equation to get access to the Collection Chest.
Viaduct
Starting at the Central Hall Floo Flames, go up the stairs and exit through the large doors. You’ll come across a bridge with four braziers on it. Cast Confringo or Incendio to light all of them. After you’re done’ you’ll notice a grate on the floor with four symbols and numbers, corresponding to each of the braziers. Interact with them so that each of the braziers shows the matching numbers. Once you’re done, the grate will open, and you can climb down to the lower level where the Collection Chest is located.
You can also find a second Collection Chest slightly towards the right of the room.
Hogsmeade
North of Honeydukes
Starting from the North Hogsmeade Floo Flame, head out of the square and straight up the path. You’ll notice a small house with a locked door towards the right. Use Alohomora (level 3) to unlock the door and you’ll find the Collection Chest at the foot of the bed.
South of Hogsmeade
Starting from the South of Hogsmeade Floo Flame, turn around and proceed to the right of the house directly behind the Floo Flames. Use Alohomora (level 3) to unlock the door. Enter the house and go upstairs to find the Collection Chest sitting at the bedside.
Spire Alley
Starting from the South of Hogsmeade Floo Flame, head right and follow the path as it curves to the left. You’ll notice a small house to the right with a locked door. Use Alohomora (level 3) to unlock the door and gather the Collection Chest.
The three Broomsticks
Starting from the South of Hogsmeade Floo Flame, travel northwest towards the Three Broomsticks. Enter it and head up the stairs until you come across a locked door. Cast Alohomora to unlock it and gather the Collection Chest inside.
Hogsmeade Valley
Overlook Mine
During the Main Quest – Shadow of the Mine you’ll have to enter the Overlook Mine. At the beginning of the mine, you’ll slide down to a new location. Head towards the left and keep walking until you come across a massive cobweb. Burn it away with a spell (Incendio or Confringo) and you’ll find the Collection Chest in the next room.
To find the second chest, defeat the first set of spiders and enter the narrow passage. Keep to the right and use Lumos to keep the Devil’s Snare at bay. Keep going right until you come across a small gap containing the Collection Chest.
North Hogwarts Region
Bandit Camp
You’ll visit this location during the Main Quest – The Helm of Urtkot. Once you’ve dealt with the enemies, you find the Collection Chest within the blue tent.
The Collector’s Cave
Like the last one, this cheese can also be found during the same Main Quest – THe Helm of Urtkot. After you’ve defeated the Inferi, keep progressing through the tomb. Take a left after the third moth door. In the next room, face right and cast Depulso on the doors to blast them. Next, cast Accio to move to shift the crates over to the right. Climb to see the Collection Chest.
South Hogwarts Region
Lower Hogsfield
Starting from the Lower Hogsfield Floo Flame, enter the village and keep moving along the edge of the lake. You’ll notice the Collection Chest under an upturned cart.
There is also a second chest. To find it, return to the Floo Flame and enter the village once again. Follow the cobbled path to the left. The path will wrap around the house. You can find the Collection Chest on some crates just next to the vendor.
Hogwarts Valley
The Mine’s Eye
You can find the chests during the Main Quest All Gobbledegook. As you’re searching for the goblin documents in the large mine, head up the stairs and you’ll come across an interactable crate. Cast Depulso and crawl through the tunnel. You’ll see the Collection Chest as soon as you reach the other side.
To find the second chest, light a boiler to the right while you’re searching for the goblin documents. Head back out of the door and pull a lever to bring down the elevator. Use it to get to the floor above, and then follow the path. Head left and then left again before going up the steps and you’ll come across a locked door. Use Alohomora (Level 2) to unlock the door and gather the Collection Chest towards the left.


Share Your Thoughts Below (Always follow our comments policy!)